Updated September 4, 2025 03:32PM
Lattice Training's Ultimate Guide to Better Hangboarding
Here's what you need to know to get stronger without getting injured.
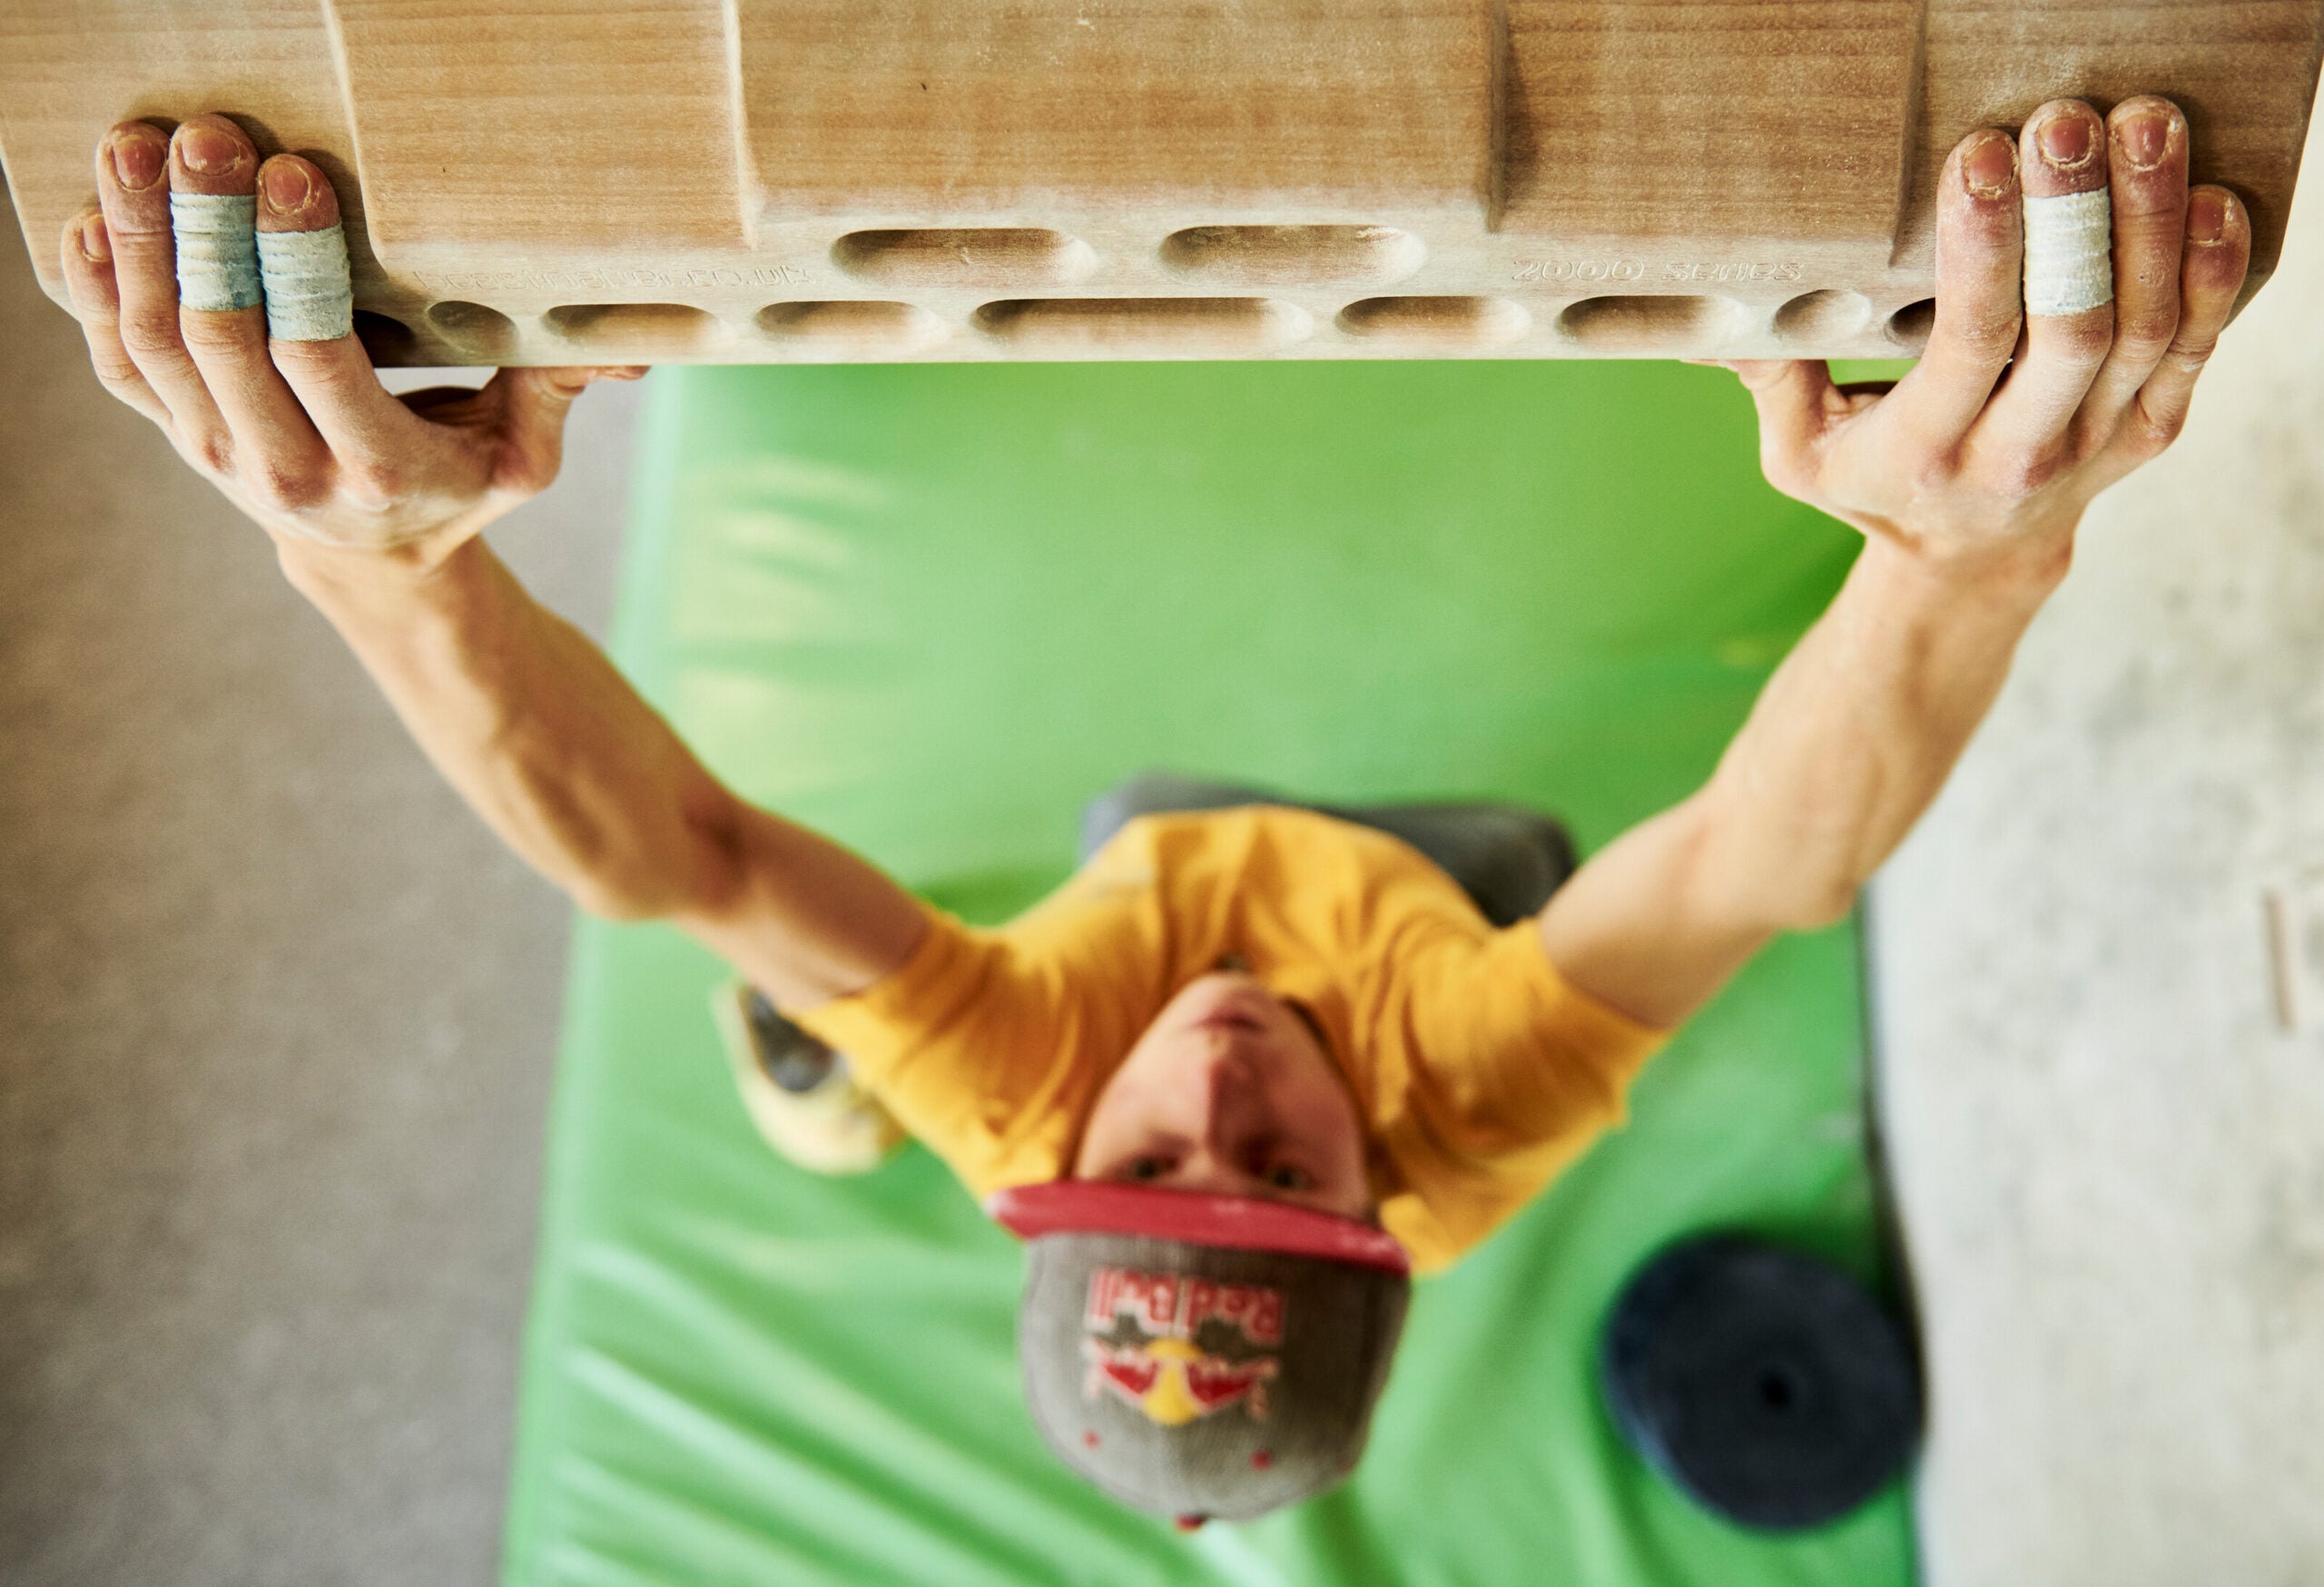
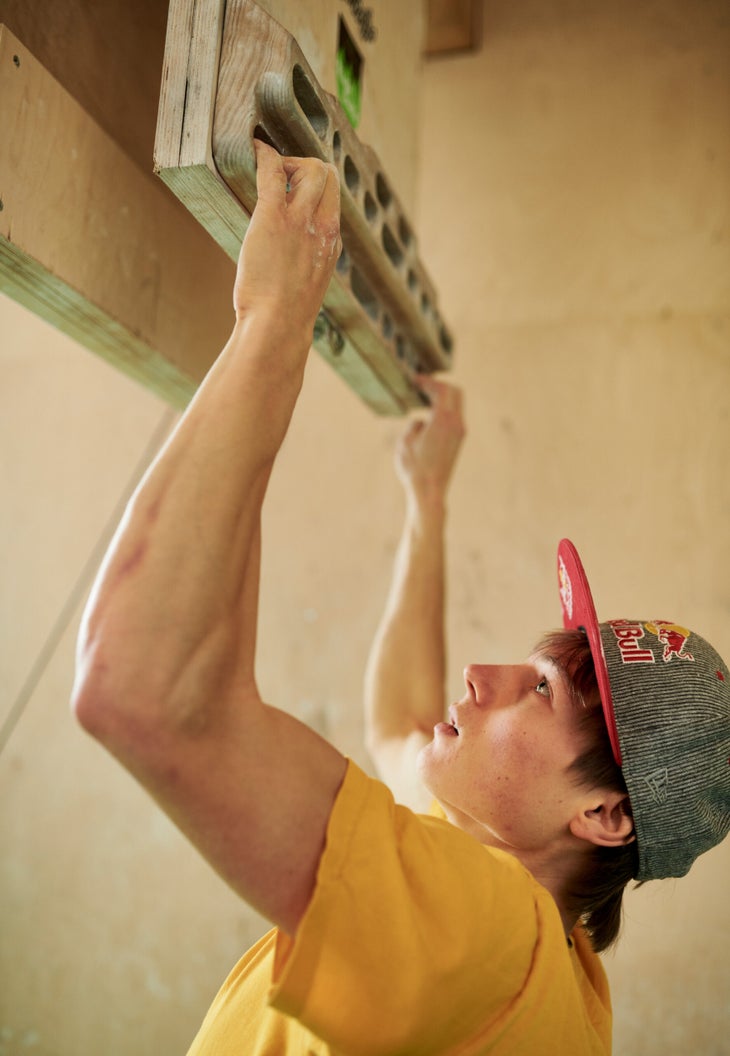
Alex Megos hangboard training at the Cafe Kraft in Nuremberg, Germany. (Photo: Ray Demski / Red Bull Content Pool )
Hangboarding is undoubtedly one of the most sport-specific strength exercises that you can do for climbing, aside from climbing itself. Hangboarding’s transfer from off-the-wall training to on-the-wall performance is almost instantaneous, especially considering that improvements in finger strength will increase both maximum boulder and sport grade. What is often less clear, is what variables climbers should pay attention to when they fingerboard, such as; hold size, intensity of hang, and number of fingers (or arms) used during training reps. In addition, there is a whole host of “methods” to use for hangboard sessions such as repeaters, max hangs or long duration hangs—all of which have their time and place.
In part one of this article, we’re going to guide you through the basics. We’ll introduce you to each important aspect of your hangboard training and further break down why it matters. In part two, we’ll address some of the most common exercise sessions, including when and how much you should be completing this form of training. While these articles are by no means comprehensive of all approaches, they should act as a signpost for your training, and I must stress that every climber should take an individual approach to their training. Theory and methodology has its place, but it must be matched to key factors such as training history, performance goals and resources (time, facilities, budget) available for training.

At Lattice, we’ve trained some of the strongest, boldest and talented climbers in the world: Alex Honnold, Hazel Findlay, Will Bosi, and Tommy Caldwell, to name a few. We don’t just brag about the names though, we take what we learn and apply to the elite and make it work for the keen amateurs out there. You might be surprised to know that these megastars aren’t so different from you and us.
Hangboard Edge Size and Shape
The size of the holds on your hangboard are likely to vary from jugs all to the way to less-than-a-finger-pad if you’ve got one at home or are using the board at the gym. On the whole, the size of the hold means the distance from the front of the hold to the back “stopping point” on the board. It does not take into account the front curved radius of the hold. This is very important, because many manufacturers vary this (typically 3-10mm) and you’ll find significant differences in difficulty and comfort from one brand to the next. At Lattice, we use a 20mm edge size for most training and research, which has a 10mm front radius.
Our Picks


The shape of the hold is normally referring to the angle at which the loading surface is oriented. A sloper hold will be on the negative side of the perpendicular mounting angle and an incut hold on the positive side. In some rare cases, you may find certain boards will have a designed curvature from side to side.
ADVERTISEMENT
Why does it matter?
- The edge size will determine the way in which your forearm muscles are engaged and how the tendon and ligaments are loaded. There are significant differences between single joint (20mm or less) and double joint (25mm and more) grip positions.
- For beginners who climb on larger holds, training on larger edges may be more beneficial. For intermediate to elite climbers we generally recommend 20mm or less.
- Very small “micro” edges limit the total force we are able to transmit to the forearms so this form of exercise is of limited use when building maximum muscular strength.
- The larger the hold used, the greater the spread of loading across the soft tissues in the hand. As such, this may be an important component of injury risk reduction initially for some climbers.
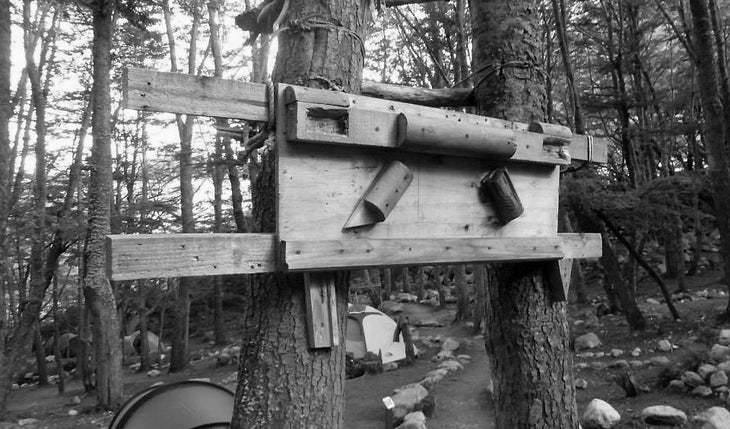
Homemade hangboard at camp below the Torres, Torres del Paine, Patagonia. The grips on your board may vary … what really counts is how you use them. (Photo: Hayden Carpenter)
Joint Angle and Grip Type
The use of joint angle or grip type is somewhat interchangeable, but in either case is a very important factor to pay attention to for all climbers. We typically have the option of a spectrum of grip types or joint angles on more or less any hold size or shape. Using more of an “open” grip is when the finger is the straightest and the joint angle largest. In contrast the most “closed” grip is considered a “full crimp” where the joint angle across all fingers is high and in addition the thumb is wrapped over the forefinger to provide additional force. Climbers will argue endlessly over which grip position is best, but in reality there is no preferred method. We think this is due to the fact that individual finger morphology can affect the biomechanics of grip strength, and also a climber’s training and injury history has a big influence. What does seem fairly certain is that the best climbers in the world are able to use a variety of all grip types.
Why does it matter?
- Selection of the right grip type for the right size of hold and shape is critical. Most climbers will find that certain holds will only work if they use them in a particular way. An example of this is on a Moonboard. Here, the half crimp and full crimp will typically result in the highest performances.
- Some grip types are more “active” than others. The most open position—often referred to as a “drag”—is extremely useful for resting on large positive holds where the high contact surface with the hold allows for frictional assistance.
- Grip types such as full crimping come with an additional injury risk due to high joint angles. Climbers should be extremely wary of training these at high loads and understand that while this grip is very effective, it is not without its risks.
- Varying your joint angle can be an excellent way to rehab injured fingers. If an injury causes pain in a full or half crimp position, you may find that you’re able to load in an open position initially with much lower discomfort levels.
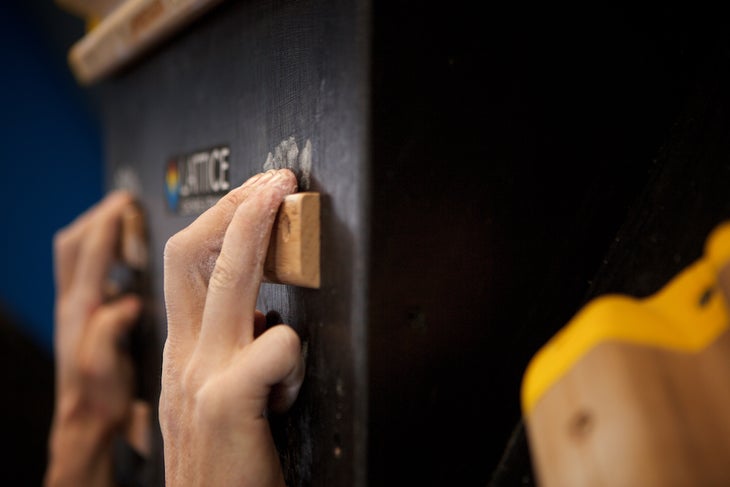
Vary your finger positions and hold size to reduce the chance of injury. Beginners will want to start with open positions such as this three-finger “drag,” and minimize time on the smallest holds and limit using the “full crimp,” which increases strain on the fingers. (Photo: Tom Randall)
How Many Fingers and Arms?
When you hangboard you can create multiple training options by varying the number of fingers used in a rep and also by how many arms you hang from. Finger choice can range all the way from elite methods such as the single finger mono to standard introductory exercises engaging all four fingers. Interesting, when we get down to two and three finger choices, we have a number of options—the grouping of those digits can strongly influence performance outcomes and how we load the soft tissues of the forearm and hand. In terms of the number of arms, it’s simply a choice of one or two. In climbing training we still refer to hangs as “single arm” even when the other arm is using assistance from a rope and pulley set up or an elastic band.
Why does it matter?
- Certain hold shapes such as pockets load the soft tissues in a very specific manner. In this way, it’s often productive to train in a manner that reflects the demands of the sport. If you’re hanging by two fingers on your project, it makes sense to specifically prepare via training.
- Reducing the number of fingers on a hang will typically increase the load on the engaged soft tissues and therefore the risk of injury. Isolating groups of fingers should be used with intention, rather than a scattergun approach.
- Two-arm hangs should be considered the staple for most beginner and intermediate climbers as the load is spread across the entire shoulder girdle. It also means less equipment set up for training.
- Single-arm hangs are appropriate for advanced climbers who wish to build in additional training stimulus. It is not a replacement for two-arm hangs, but an additional tool to be used in the right circumstances.
How long, how hard, and how often
Once you have decided on your grip size, shape and form, how many arms and fingers, then the final piece of the puzzle is training load. The easiest way to think of this factor is to break it into three parts. The first is how long you hang for (duration/volume), the second is how hard (intensity), and the last is how often you train (frequency) on your hangboard. The critical element of this to understand is that the sum of all three of these factors impact your training load. Even if you don’t adjust duration or intensity, but move up your training frequency, then your training load has increased.
ADVERTISEMENT
Why does it matter?
- Training load is one of the most important variables for making performance gains. When we apply a training load to the body that requires it to adjust and adapt, then we see physical improvements over time.
- It is one of the most common factors for climbers to abuse/ignore and consequently get injuries. Large increases in training load is a big risk factor for any discipline specialization, age group or gender.
- Climbers who consistently put in the work, whether at the gym or outside, but are not seeing improvements will often see huge leaps forward if they make adjustments in load. In our experience, the biggest one to pay attention to is frequency.
With all of the parts of your hangboard understanding now taken care of, we’ll deal with the “how-to” when it comes to training in the next article. Remember, none of the points above are bests or secret methods or anything like that. They’re just components for building your hangboard routine and the best climbers are like experienced chefs—they know their ingredients extremely well and they know exactly how they relate to the outcome they’re hoping for. You can do exactly the same!
If you’re interested in testing your own finger strength for free then we have built an online resource for the climbing community called MyFingers, which helps you understand how strong your fingers are compared to a global dataset. We also have YouTube videos which demonstrate form, method and training approaches for strong and healthy fingers here.