There's a time and place for static moves. But what do of the world's strongest climbers have in common? They are very good at moving dynamically.
The post Want to Climb Harder? Train Dynamically. appeared first on Climbing.
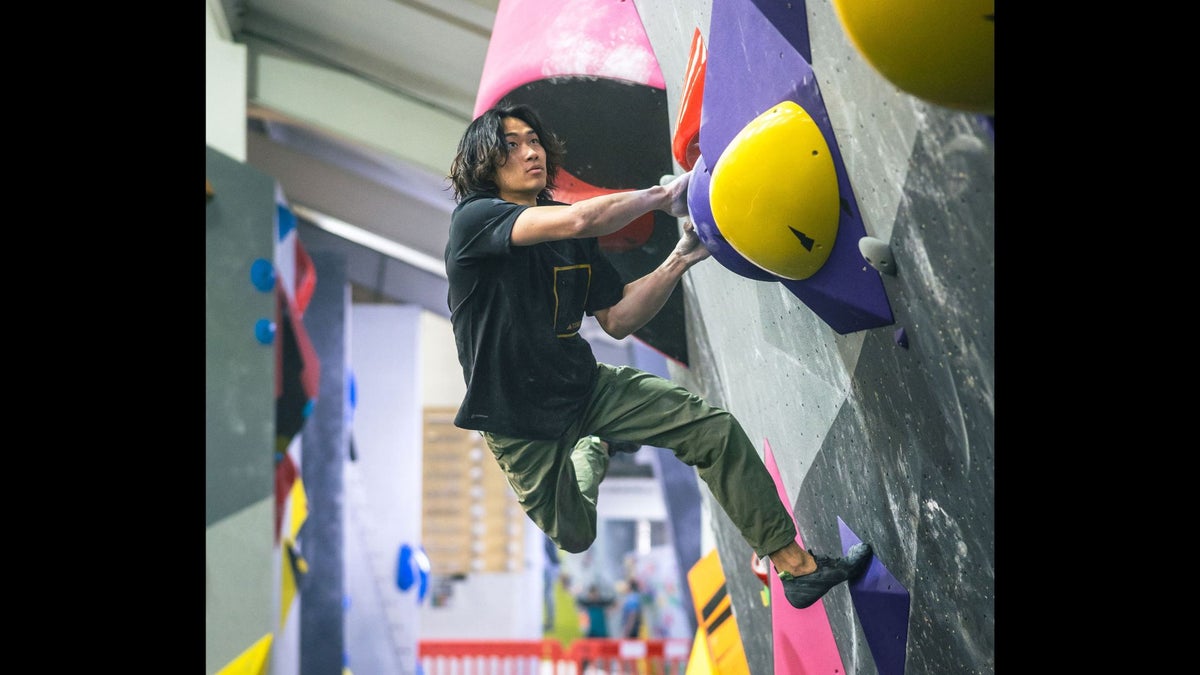
]]>The ability to climb dynamically is a critical skill for hard bouldering and sport climbing, yet many climbers struggle to “bounce and slap,” even when that is what the move demands. A static style has its place on easy terrain, or even difficult sections if the protection is marginal. However, you will be pouring away energy if you lock off and slow-mo to every hold on cruxes and sustained sequences, and you’ll place unnecessary strain on your tendons.
It can be difficult for climbers who have engrained a static style to re-program themselves to move dynamically, but have faith. It can be done. My first advice is to boulder more, and to redpoint hard projects rather than exclusively climb onsight. My next recommendation is to be sure that fear of falling isn’t encouraging your static style. If so, address this fear as a priority. Once you have done that, you should analyze your movements via video feedback or the constructive criticism of your partners.
Meanwhile, you can make strides with the following supportive exercises. Don’t worry too much about full-blown dynos as these rarely crop up unless you’re a hardened boulderer. Instead, take a detailed look at the deadpoint sequence, which essentially provides the blueprint for dealing with all hard climbing situations.
1 Deadpointing
Deadpointing is the term coined to describe reaching (or “slapping”) for a hold at speed. In contrast to dynos, which you use to overcome long reaches, deadpointing is often required when you are either too weak or too pumped to hang onto a hold long enough to reach the next hold statically. Once you master the technique, you can start using it strategically to climb harder and more efficiently.
With deadpointing, you usually remain on one or both of the “take-off” footholds. Aim to catch the target hold precisely at the weightless moment (or “deadpoint”) at the top of the move. If you let go of the lower hold and reach for the target hold too early, or move too slowly, you won’t achieve sufficient height; but if you hold on too long, you’ll lose momentum and “drop out” (i.e.: you will be traveling downward by the time you catch the hold).
2 Movement Sequence
1. Commit: Don’t waste time attempting to static a move. There is no such thing as a half static/half dynamic move. Do one or the other.
2. Set your feet: Make a quick check that your feet are in the best position and don’t delay. On longer deadpoint moves, you will need to generate upward thrust from your feet; consider this when selecting footholds. Placing one foot higher than the other usually works best. If using both feet feels unbalanced, consider taking one foot off and flagging.
3 Generate Momentum
You can crank up momentum three different ways. For all three methods the key is to let go with the lower hand approximately two thirds of the way through the pull-up. A small bounce can work well before you go for the move, but don’t bounce more than once.
a) Hinge deadpoint. Use this method when you are moving to a hold directly overhead. Straighten the arms and lean back from the wall by bending at the waist like a hinge, then thrust the torso inwards and jump to the hold.
b) Pendulum deadpoint. For diagonal or sideways moves, swing the hips like a pendulum and then “flick” your hand to the hold.
c) Rock-over deadpoint. If there’s a good high foothold, rock up onto it at speed. Use the hinge method to generate additional momentum from your torso.
4 Maintain Contact
Be accurate with your fingers, especially on pockets and slopers, which may only have one specific good part. Your hips should finish vertically below the target hold—too far in and you’ll swing out after grabbing the hold. Too far out and you’ll miss the hold. You need to be stationary as you hit the hold. When using small footholds that are positioned low, “drill” your toes and tense your hamstrings and core muscles at the precise moment you latch the hold—think “feet” at the same time as you’re thinking “hands.” Don’t be too quick to blame lack of core strength if your feet are coming off, as lack of coordination is nearly always the culprit. Down-turned shoes help. If you’re still having difficulty sticking the target handhold, try cheating into position by using extra holds when climbing indoors or a power- spot from a partner if climbing outside. This will help you build confidence in the move and enable your body to map into position.
5 Additional Exercises
For extra practice in moving dynamically, try double-handed deadpoints on a campus board with your feet on foot rungs. Alternatively, clapping push-ups and star jumps (start squatting then jump and extend your arms and legs out to the sides) will teach you timing and get you moving more explosively.
Don’t think dynamic moves are relevent to your outdoor climbing goals? Watch professional comp climber Jim Pope absolutely crushing outdoor climbs using his indoor skills.
Related:
- Yes, beginners and intermediate climbers should fingerboard, says Dr. Tyler Nelson in “Most Climbers Are Getting Fingerboard Training Wrong.”
- Struggling to Make Gains? 20 Minutes With A Kettleball Will Change Your Climbing
The post Want to Climb Harder? Train Dynamically. appeared first on Climbing.
]]>
At 5'1," the author, a leading American climber, took time to study and work hard on the best ways to jump.
The post Michaela Kiersch: Five Tips for Tackling Dynos appeared first on Climbing.
]]>Carlo Traversi says the best way to become a better climber is to master dynos. Now, you can learn from Carlo himself when you take Climbing’s Master Dynamic Movement course.
I have spent almost my entire life climbing in gyms and am very comfortable in that environment. Few things in a gym intimidate me—except maybe Band-Aids on the floor, birthday parties, and dynos.
I’ve had a complicated relationship with dynos. Officially, I reached my peak height of 5’ 1’’ in about sixth grade, and I never had the growth spurt people told me to expect. Those are probably the same people who said I could keep growing into my early 20s.
The combination of my size and natural competitiveness has led me to work hard on a few techniques for more successful dynoing. Here they are.
1. Use your hips.
In climbing gyms, we hear phrases like, “Stay close to the wall” or “Move your hips.” But why? My golden rule of climbing movement is that your hips should move in a linear fashion toward your intended hold. By moving your hips intentionally toward the target, you increase your likelihood of being in the correct position to stick it. To apply this rule to dynos, start by considering your choice of footholds.
2. Choose your feet.
Select feet based on the direction you will be moving in and the distance that you must jump. When you are dynoing toward a hold to the right, it is important that the footholds allow for movement in this direction. Typically, the ideal choice will be either directly below your center of gravity or slightly to the left. Deciding on the right footholds lets you use your legs and propel your body toward the high handhold.
A common faux pas is choosing feet that are too high. Footholds that are too high may push your hips away from the wall instead of helping propel them upward. Conversely, too-low footholds may inhibit your ability to generate force. Choose feet that are somewhere in your mid-range of knee flexion/extension to optimize your power and keep your hips close to the wall.

3. Push!
The next step is actually to attempt the dyno. After years of trying to improve my dyno technique, I realized that I was only half-dynoing. As I began to incorporate movement analysis into my training, I could see that my technique was mostly pull and very little push.
Most of climbing is pulling down as hard as possible, but in dynos it is important to remember to push. I realized that as soon as I yarded upward from the hold I was on, my hands were in the air and often short of the reach. My dynoing improved significantly when I began to push downward with my hands and complete the full movement. It was also important to implement the push technique in my lower body to ensure that I was maximizing the power in my legs and generating movement from the footholds.
The big takeaway is to follow through on the entire motion, pull and then push.
4. Control the swing.
Once you reach the hold, the momentum you’ve generated many continue, with your body still traveling. To control the swing and stay on the hold, engage your core to bring your center of gravity back toward the wall. Pulling back inward enables you to find the next footholds and re-establish a base of support.
5. Use the visual arts.
My final secret to dyno success is to film and review your attempts. Sure, it’s easy to picture what dynoing should look like, but it’s hard to apply the concepts: to engage multiple muscle systems and techniques as well as orient yourself in space. When watching your dyno frame by frame, you can identify where your center of gravity is at each stage (using your hips as the landmark) and how to adjust the movement for more success.
Plus, if you’re filming when you stick the dyno you’ll have awesome content to show your friends!
The post Michaela Kiersch: Five Tips for Tackling Dynos appeared first on Climbing.
]]>